

In this tutorial, I show you how to export an image that you created in Figma, compress it and then set it as a featured image in WordPress.
Figma is a design tool and it's pretty awesome. It's like a browser-based tool where design meets Google Docs:
- You can collaborate on something with someone else at the same time
- It's really fast
- It's super easy to use
Check it out by watching the video below or reading the show notes below:
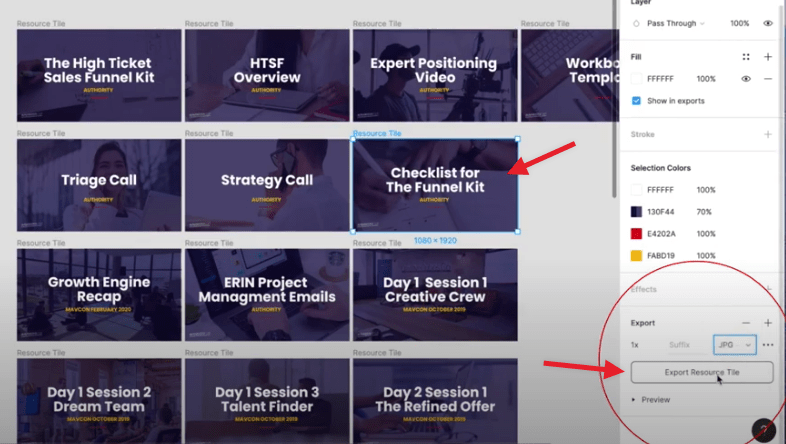
Step 1: Export the Image
- Create your image in Figma
- Select the image by clicking on it and highlighting the frame
- Choose to export it as a JPEG because they generally are a good mix of low file size and high-quality image
- Click “Export Resource Tile”
- Name your file and save it
Step 2: Optimise the Image
The aim is to now optimise the image to make it fast to download whilst maintaining the quality of the image.
There are many tools to use for this such as Tiny JPG or Tiny PNG where you simply upload PNGs or JPEGs and it'll reduce the file size for you. You just drag and drop it there and it'll give you the new data load link.
However, I've recently found this tool called TH-makerX that you can download as an app if you have a Mac. I use the following settings:
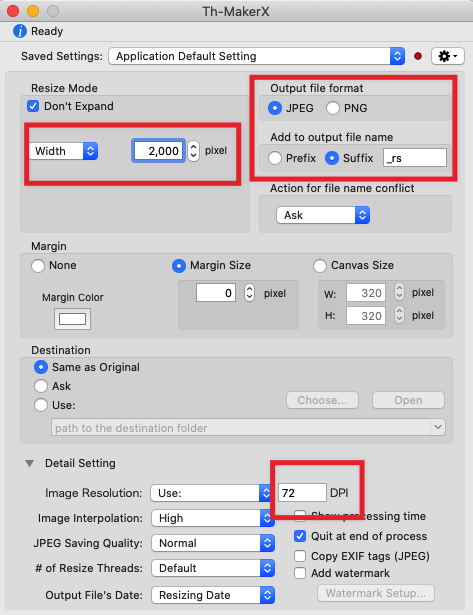
- Export as a JPEG
- Create the file name and add “_rs” (which stands for “resize”) as the suffix. This way it won't replace the original file
- Width is set to 2,000
- And the image resolution is 72 DPI
Next, you drag and drop your image into TH-MakerX and it will reduce the size of the file and automatically save it to your downloads.
Step 3: Set the Feature Image in WordPress
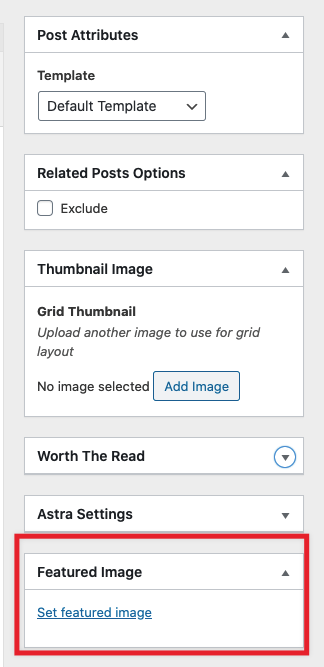
So the next thing we want to do is go over to WordPress and set this as the featured image.
- From the WordPress dashboard, click on “Posts” then “All Posts” in the left-hand column
- Click on the post that you are editing
- In the column on the right of your blog, click on “Set Feature Image”
4. Either drag and drop the image from your desktop or click on “Upload Files”
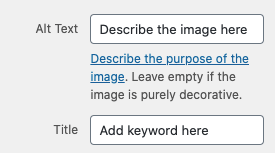
5. Add in your alt text and title to make it more search engine friendly
6. Click “Set Feature Image”
And you're done!
If you want to learn more about becoming a WordPress consultant or taking your digital business to the next level then check out some of these helpful resources:


")
